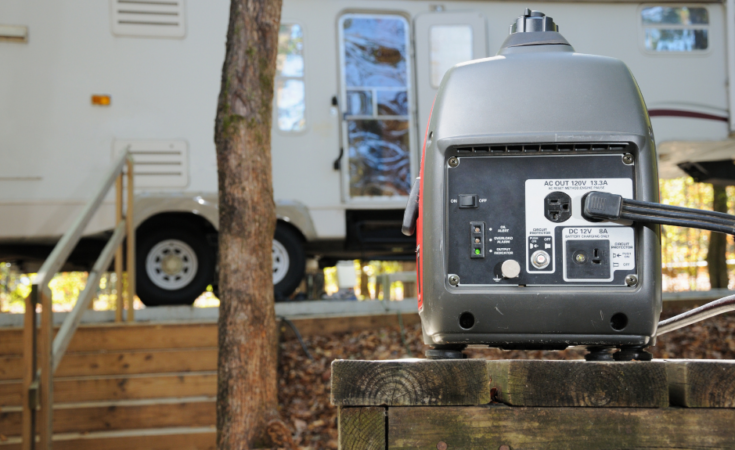
A generator is a very useful appliance to have at home, particularly if you live in an area that is prone to power outages. However, these generators can be noisy, making them inconvenient to use. A soundproof box can be the perfect answer to fixing this issue, but they can be expensive!
Luckily for you, we have compiled a guide showing you exactly how to make your own soundproof quiet generator box at home, with few materials that won’t break the bank. We’ll also look at the benefits of a soundproof box, and how to soundproof an existing generator box you may already have. Keep reading on to find out more.
The Benefits Of A Generator
Generators are becoming more and more common, with so much of the country experiencing natural disasters and power outages. A generator can bring relief during these troubling times, and knowing you have a way to power essential appliances in your home no matter what is always a good idea.
Generators can also be very useful if you enjoy camping or go away in your RV. It is becoming more and more difficult to be without power even for a few days, and a generator will allow you to keep connected with the outside world even when you are away on vacation.
Even if you don’t think you have a specific use for a generator, having one in your garage that can be used from time to time or in an emergency is always a good idea. This way, you won’t be caught out and will be prepared no matter what.
Types Of Generator Boxes
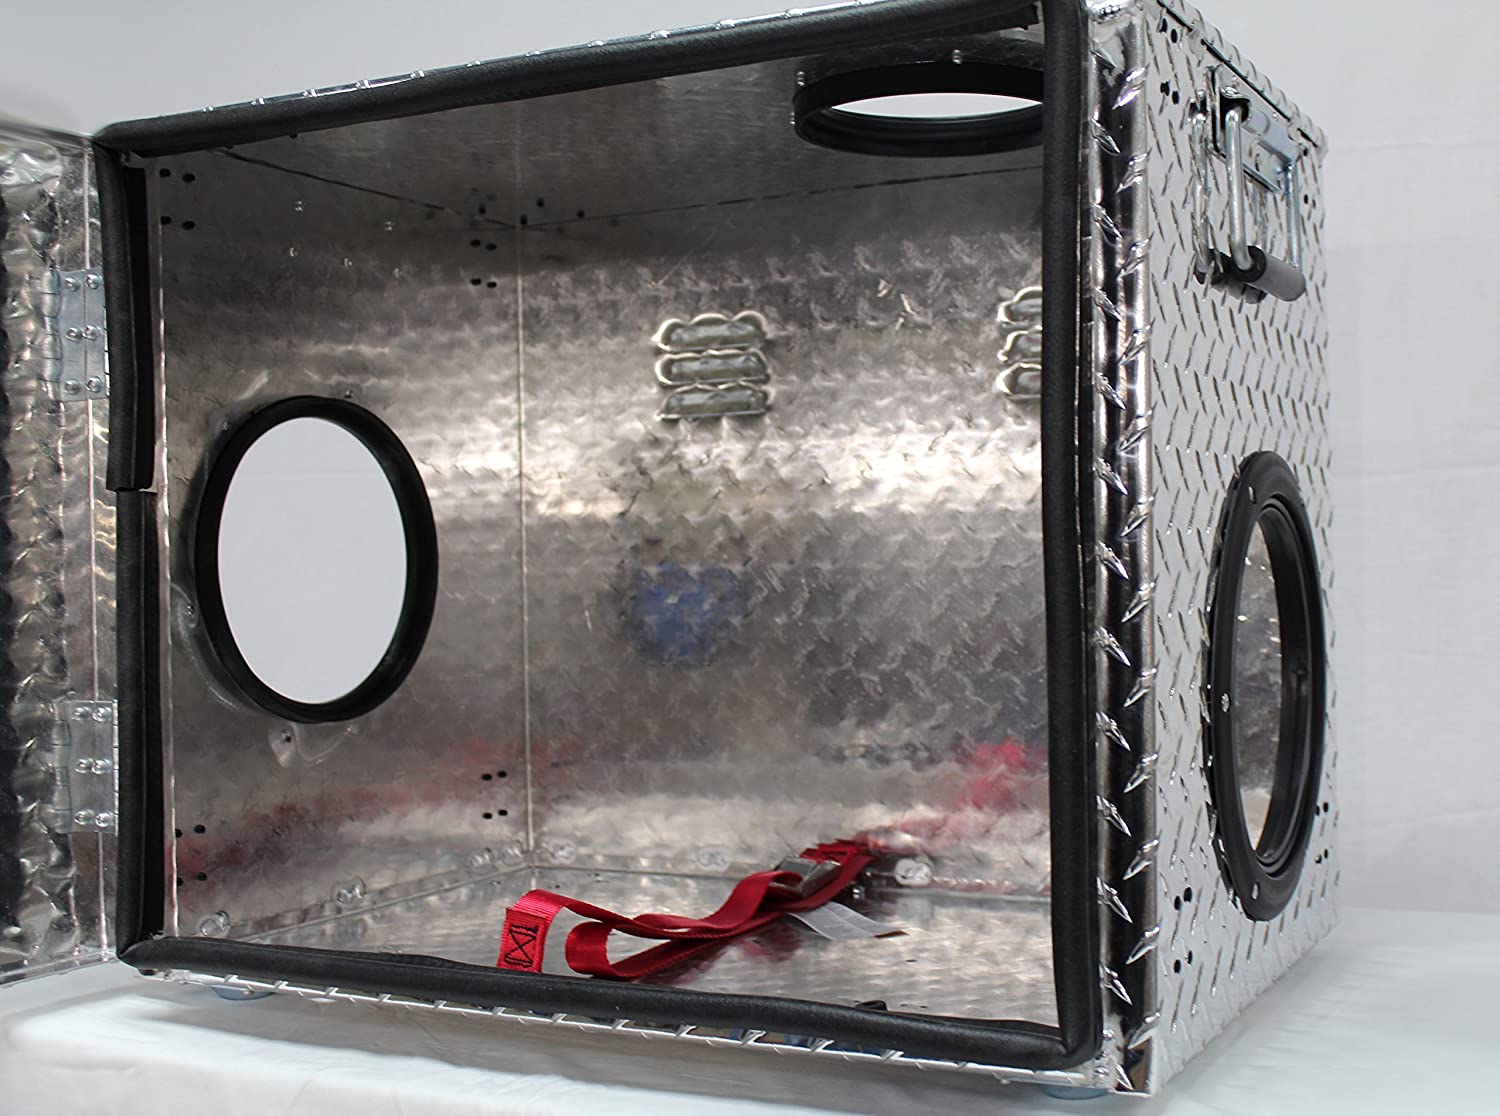
There are different types of generator boxes out there and the type you wish to build will depend on a number of factors, including how often you plan on using your generator, how large your generator is and where it is located. Some of the most popular types of generator boxes are:
Generator Quiet Box (Baffle Box)
A generator quiet box, also known as a baffle box, is one of the most common types of soundproof generator boxes. They are often made of wood with some form of insulation to absorb any noise and quieten the loud generator.
Generator Enclosure
A generator enclosure is a more permanent structure that is used to house a generator. It is normally made of stone or concrete and is used to protect generators from the weather, particularly large generators that are sued to run fridges and freezers when the power is out.
Portable Generator Soundproof Enclosure
A portable generator enclosure is…portable! One of these boxes allows you to move your generator around while still keeping it quiet, as the box is attached to some wheels and can be used like a wheelbarrow.

Why A Generator Soundproof Box Is A Good Idea
The chances are you don’t use your generator every day, only when there’s an emergency and the power is out, or you need to deliver power somewhere such as when camping. When the power is out and you’re feeling frustrated, the last thing you need when you turn on your generator is for it to start making an irritating noise! Fortunately, a soundproof box can fix this problem and quieten your generator noise so you can get on with every day life.
A soundproof box can also help to protect your generator from the elements, ensuring it doesn’t break and is always there when you need to use it. On top of that, a DIY soundproof generator box is fairly inexpensive to make, particularly in comparison to buying one.
If you’ve decided a quiet generator box is going to benefit your home, take a look at the materials you will need below.
Materials Needed For a Soundproof Quiet Generator Box
In this article, we are going to teach you how to make a simple but effective soundproof generator. Of course, you can create an enclosure made of stone, or design a portable one if it work better for your house and garden, but if this is your first time making a soundproof box, you may wish to follow our steps below for making one.
Here are the materials you will need for a quiet generator box:
- Medium Density Fiberboard (MDF) — this is the main material the box will be made out of and will block more sound than plywood
- Mass Loaded Vinyl (MLV) — this is the first layer of soundproofing within the box
- Foam Mats — this is an additional layer of soundproofing
- Green Glue — this is a soundproofing material that can also be used to glue the edges
- Ventilation Duct — this is used to create a proper air supply for the generator box
- Hammer
- Screwdriver
- Measuring Tape
- Screws and Nails
- Saw (can be table or circular)
- Right Angle Ruler
- Pen and Paper
Main Criteria For A Soundproof Box
There are a few main criteria that you will want to reach when making your soundproof box so you can be sure it does the job you want it to, while also being easy to use.
1. The soundproof box should decrease your generators noise level by at least 50%, otherwise you may not hear much of a difference.
2. The box should be easy to assemble and disassemble, as well as being easy to put away when not being used.
3. The box will need to have air intake and output ports so the generator is able to cool itself properly.
4. The box must be soundproof all the way around to prevent sound from leaking.
How To Build A Soundproof Box For A Generator
Before we get started on how to go about building a DIY generator soundproof box, it is worth reminding you that you will never be able to completely silence a generator. Your generator will need air and uses vents to prevent it from overheating, all of which make some noise no matter what.
However, a soundproof box can massively help. Here are the steps for building one:
1. Take Some Measurements
Generators come in many different sizes, so the first thing you will need to do when building your box is to take some measurements. Measure the side of the generator, and then add 2” to 3” inches either side, plus room for the thickness of the materials. You may want to leave even more space if you plan on keeping more than one appliance in this soundproof box.
Once you have cut your materials, you won’t be able to go back and recut if they are the wrong size. Remember, measure twice, cut once.
2. Cut Out The Box
Now you have taken your measurements, it is time to cut the box out of your materials. The main material we are going to use for our box is Medium Density Fiberboard (MDF). Take your pencil and right angle ruler and mark out the measurements on your MDF.
Then, take your saw and cut the boards and precisely as you can. You can also mark each piece of MDF after you have cut them so you know which is which.
3. Make Holes For Ventilation
Your generator will need enough airflow to avoid overheating, and because they are gas-powered, they also need to exhaust the fumes out. Therefore, you will next have to install the ventilation duct.
Take your top piece of MDF and your ventilation duct, and trace round the opening of your ventilation duct on one end. The second ventilation hole should be made on one of the side pieces and should be placed in the opposite direction to that of the hole in the top piece.
Because heat rises, the vents should be as high as possible.
4. Lay Out The Pieces
Now you know where your vents are going to be, it is time to lay out the pieces of MDF. You should lay out all four sides inside out around the top, and the top should also be inside out. The top piece will be sitting on the side pieces and be screwed down, so you will need to draw a perimeter line around the top piece to fit in with the side pieces and extra insulation we are adding.

5. Mass Loaded Vinyl
The Mass Loaded Vinyl (MLV) will be our first layer of insulation. Roll out the MLV and cut it to the measurements of the side and top pieces of MDF. Then stick these pieces of MLV onto the pieces of MDF.
6. Caulk The MLV
While regular glue will work well for sticking the MLV onto the MDF, you will find it difficult to stick down the edges of MLV. This is where our Green Glue comes in handy. Caulk the edges of the MLV with the Green Glue to not only ensure it sticks properly, but also to add an extra layer of sound proofing. If you want, you can used Green Glue instead of regular glue to stick the MLV onto the MDF for even more noise reduction.
7. Add The Second Layer Of Insulation
After you have added your MLV, it is time for the second layer or insulation — the foam mats. These mats act as a great muffler and will add even more sound protection by absorbing many of the sound waves that the generator gives off.
Like with the MLV, cut the foam to the right size for the side and top pieces of your box. Some foam pads will be self adhesive, which can be easier to use, or you can use Green Glue again.
Don’t forget to cut holes for the ventilation duct in your layers of insulation. The edges of these holes can be caulked with Green Glue.
8. Assemble The Soundproof Box
Once all the glue has dried, it is time to assemble your soundproof box. One by one, attach each of the four walls to the top piece. You can use nails to do this, but you may want to use screws to make the box each to disassemble and reassemble so you can put it away when you are not using the generator.
Next you should attach the lid. You can use hinges to do this if you would like, so you can easily access the generator when needed.
If you do not plan on disassembling your generator box for storage needs, you can coat the outside of the box and the seals where the sides meet with Green Glue for further soundproofing. You may also wish to add handles to your box at this point to make the box portable.
9. Install The Ventilation Duct
Last, but definitely not least, you will need to install the ventilation duct. You should use venting ducts with lots of bends in them, because these bends will help to absorb the sound. The longer the ducts, the better.
Thread the hose through the holes you cut earlier in your box and secure the ducts into place using brackets. You could also caulk around the pipes where they go through the holes in the box.
You can place a small vent over the openings to the ventilation ducts to keep bugs and debris out, too.
How To Soundproof Your Existing Generator Box
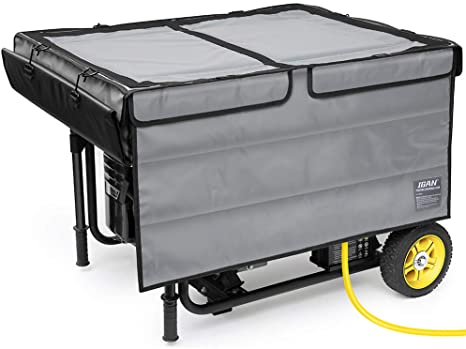
You may be thinking: “But I already have a generator box! Do I really have to build a new generator box to make my generator quiet?”
Fortunately, the answer is no! There are a few different ways you can quieten your noisy generator with your existing box without having to go to the trouble of building an entirely new one. First let’s look at the main types of generator boxes that are out there that you might have, and then we’ll take a look at how to soundproof them.
Look At The Existing Material
Depending on the type of material that has been used to make your existing generator box, there are a few things you can do.
If your generator box is made of wood, you could raise your generator up on rubber feet, and add some MLV to the walls. The same can be done if your generator box is made of plastic.
If your quiet generator box is made of metal, Mass Loaded Vinyl will not help. However, you can add a rubber mat underneath the generator, and you may be able to find different sound absorption material to the sides of the box.
Check For Any Holes Or Gaps
There are many gaps or holes in the construction or material of your generator box, because your generator needs a good air supply to run properly. However, through these holes, sound is going to leak out. Therefore, a ventilation duct can massively help, as it will dampen the noise while supplying the generator with enough air.
Attach Noise Absorption Material Inside The Box
Noise absorption material can be added to any quiet generator box to help dampen the sound produced. Without it, the sound reverberates off the hard walls of the box and can make your generator sound very loud.
Other Ways To Make Your Generator Quieter
If you don’t want to go to the trouble or making a soundproof box for your generator, you could try a few other methods to quieten it.
Move Your Generator
This sounds simple, but moving your generator further away from your house will help with the noise! While it won’t quieten your generator, the further you move it from your house, the less you will hear it. Most generator manufacturers recommend that you place your generator at least 20 feet away from your house, and this is usually the distance that a decibel reading it given at, too.
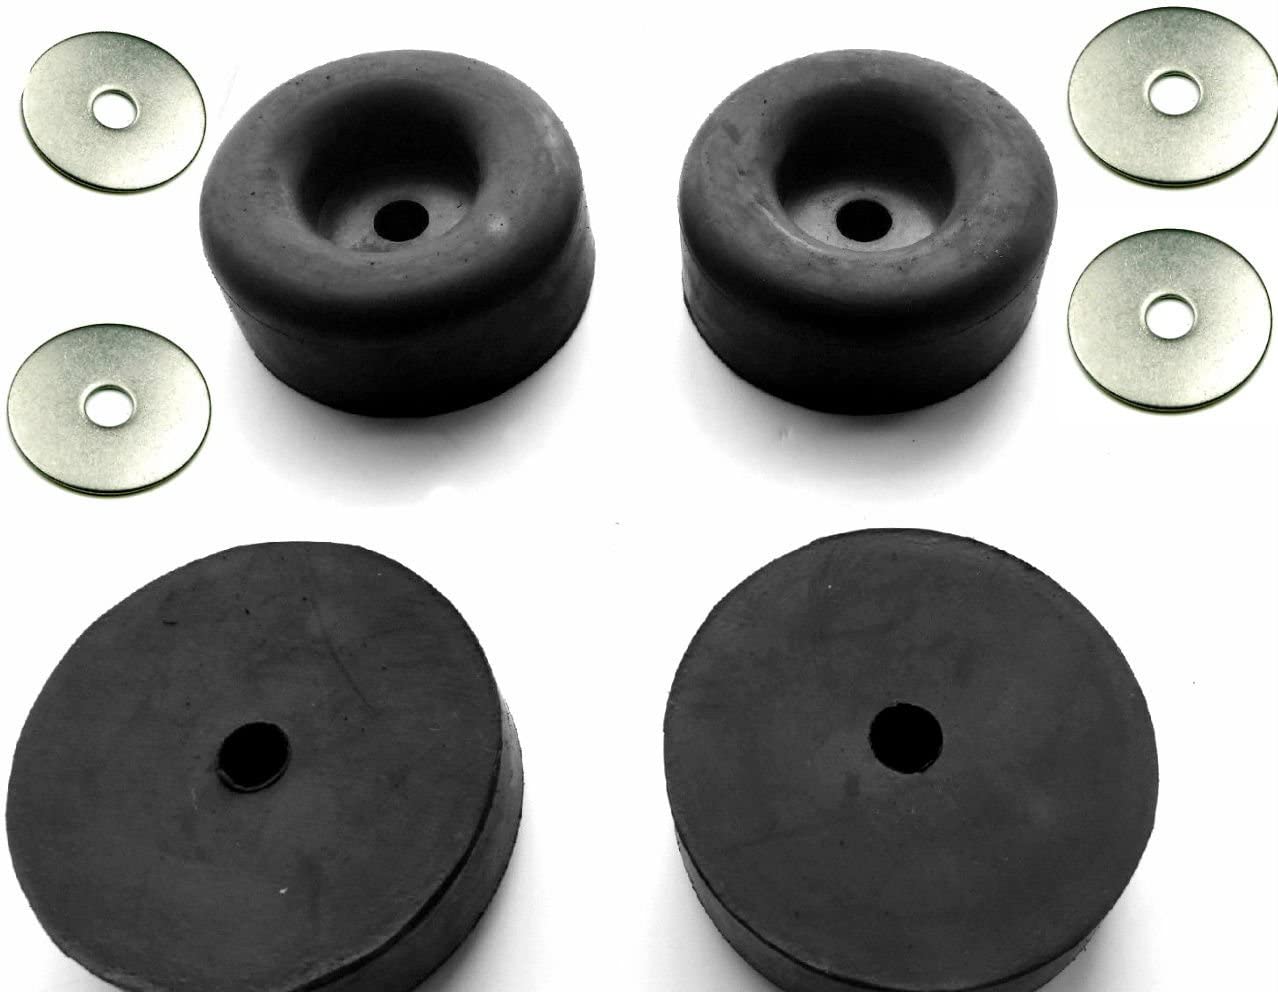
Use Rubber Feet
Generators are usually placed on hard surfaces and, as they run, they vibrate against the hard surface and cause noise. Adding rubber feet to the generator or putting the generator on top of a rubber mat can help to absorb these vibrations, and therefore your generator will run quieter. If you don’t have a rubber mat, you can place your generator on grass or dirt, which will also help to absorb the noise.
Choose The Right Size Of Generator
The larger the generator, the more noise it is going to make. Therefore, if you don’t need a massive generator, buy a smaller one that suits your power needs. Not only will this cost a lot less to run, but it will also be a lot quieter.
Point The Exhaust Pipes Vertically
The exhaust pipe is one of the nosiest parts of a generator, and most generators have them pointing horizontally. If you can, bend the exhaust pipe so it points vertically. This will mean the smoke will be released into the air, and will lessen any echos. If this isn’t possible, point the exhaust pipe in the opposite direction to your house.
Generator FAQs
How much airflow does a generator need?
A generator needs around 65 cubic feet per minute (CFM) per 1000 watts. This is around 650 CFM for generators less than 10,000 watts.
How can I keep my generator and its box in good condition?
They are a few things you can do to keep your generator working properly. The first is to run it for at least half an hour every three months, and never let it run out of fuel. You should also never refill the generator while it is running, and replace the oil for every 50-hour running time.
Other tips include locking your generator, and keeping your generator on a flat surface.
Should I cover my generator when it is raining?
Yes, you should. Always check the manufacturers instructions, but it is advised that you cover the generator but still leave room for enough airflow.
How far away from the house should I put my portable generator?
It is recommenced that you place your generator around 20 feet away from your house. This is around 7 meters.
Generator Quiet Box Summary
As you can see, building a DIY soundproof box for your generator isn’t difficult and will save you a lot of money in comparison to going out and buying a pre-made one. We hope you have found this guide helpful and have been able to enjoy building your very own quiet generator box. Now you know that next time there’s a power outage, you’ll be able to use your generator in peace and won’t be disturbed by the noise.

